Creating a Load Balancer Instance
Creating a load balancer instance provisions a dedicated load balancing appliance within your virtual network to distribute application traffic across multiple backend resources. Create a load balancer instance to improve application availability, optimize traffic distribution, and enhance performance by directing client requests to healthy backend servers.
To a create a load balancer instance, follow these steps:
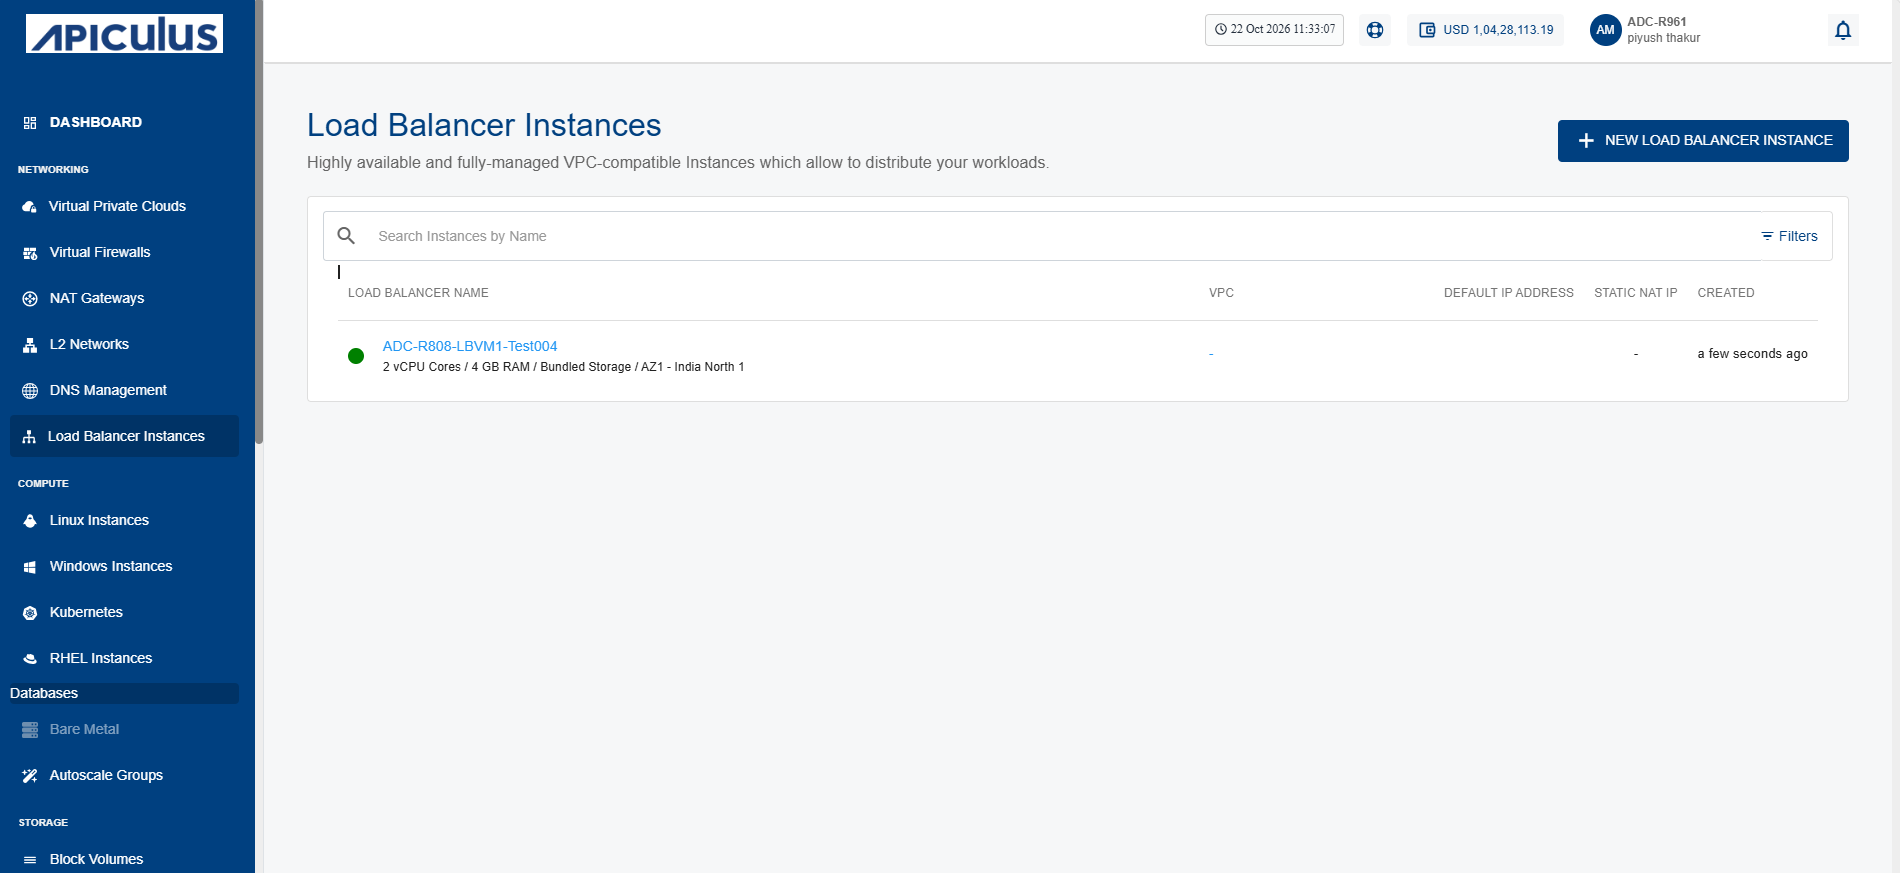
- Navigate to Networking > Load Balancer Instances. The following screen appears:
- Click the New Load Balancer Instance button. The following screen appears:
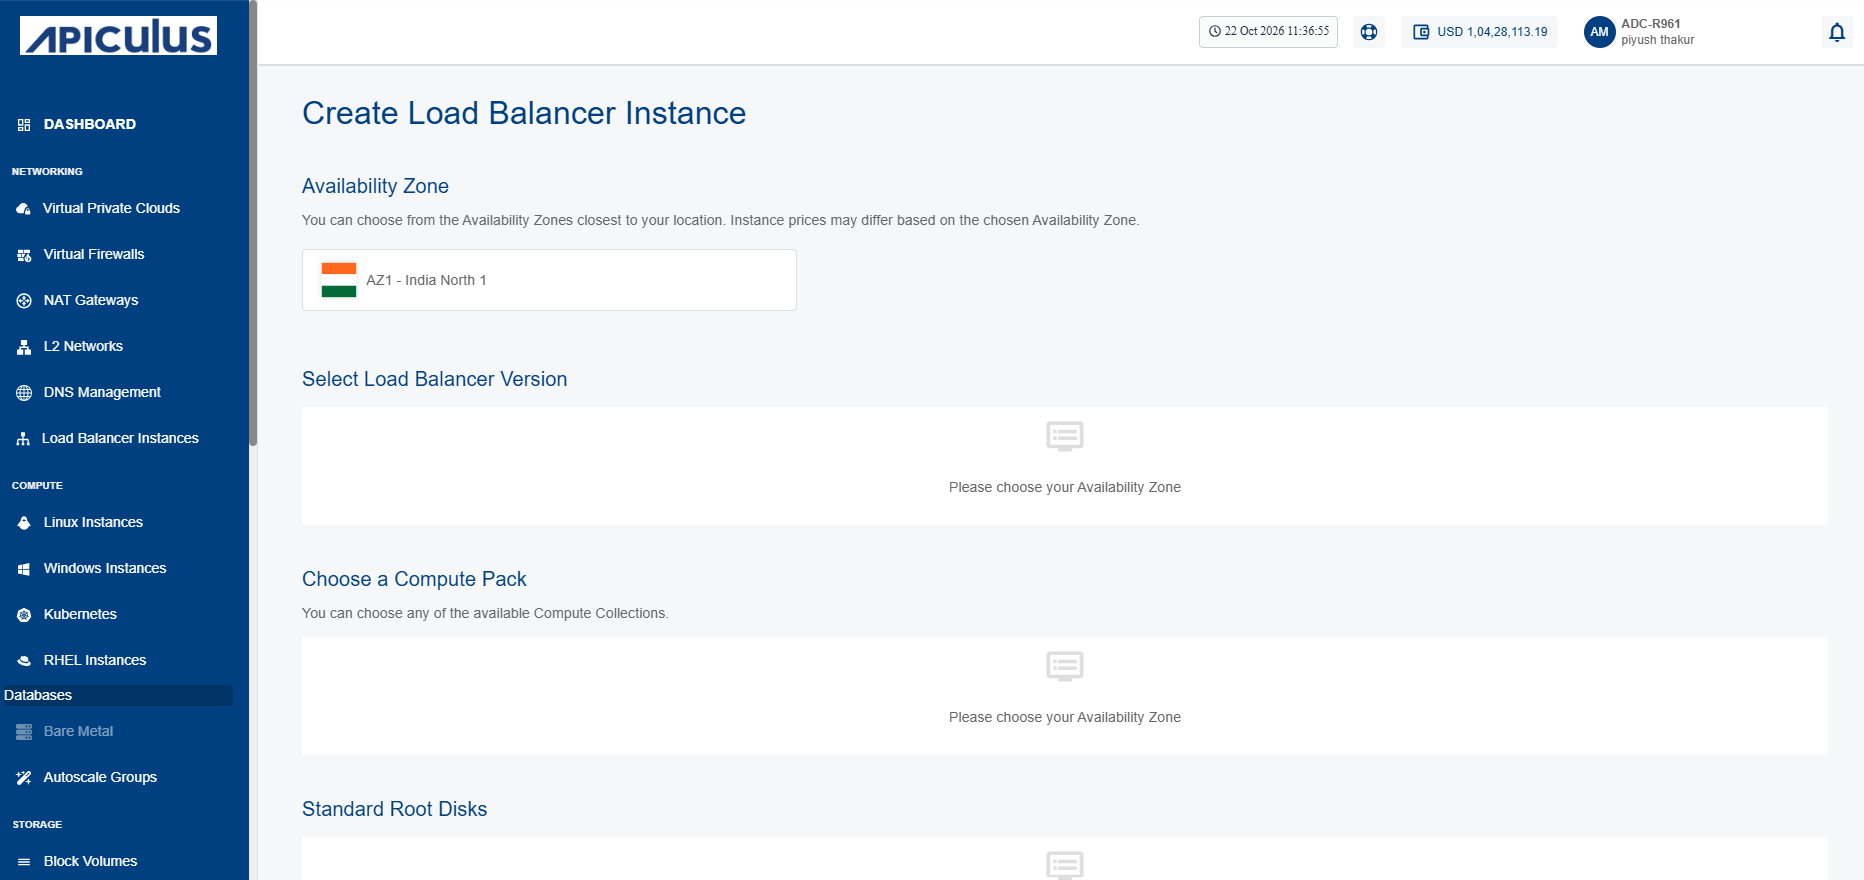
- Select an Availability Zone, which is the geographical region where your instance will be deployed.
- In the Select Network Destination, specify the VPC and subnet.
- Select Load Balancer Version.
- Under Choose an Appliance Configuration, select a load balancer appliance pack.
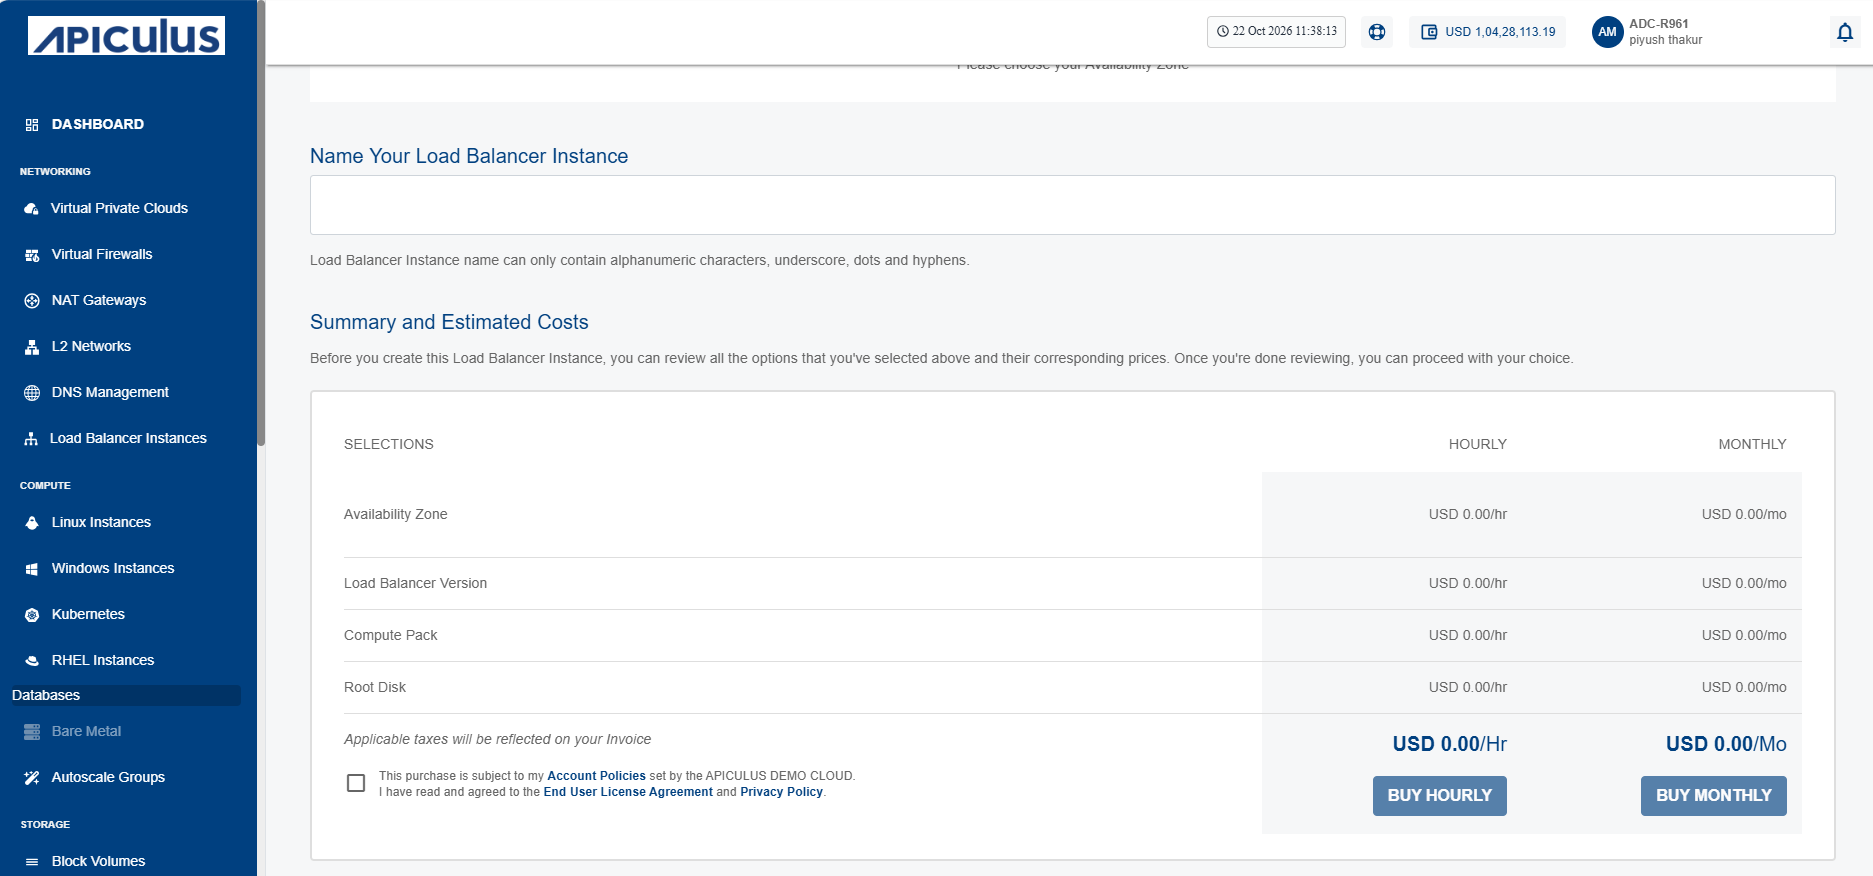
- Enter name in Name Your Load Balancer Instance.
- Select the I have read and agreed to the End User License Agreement and Privacy Policy option, and click the Buy Monthly button. The following screen appears:
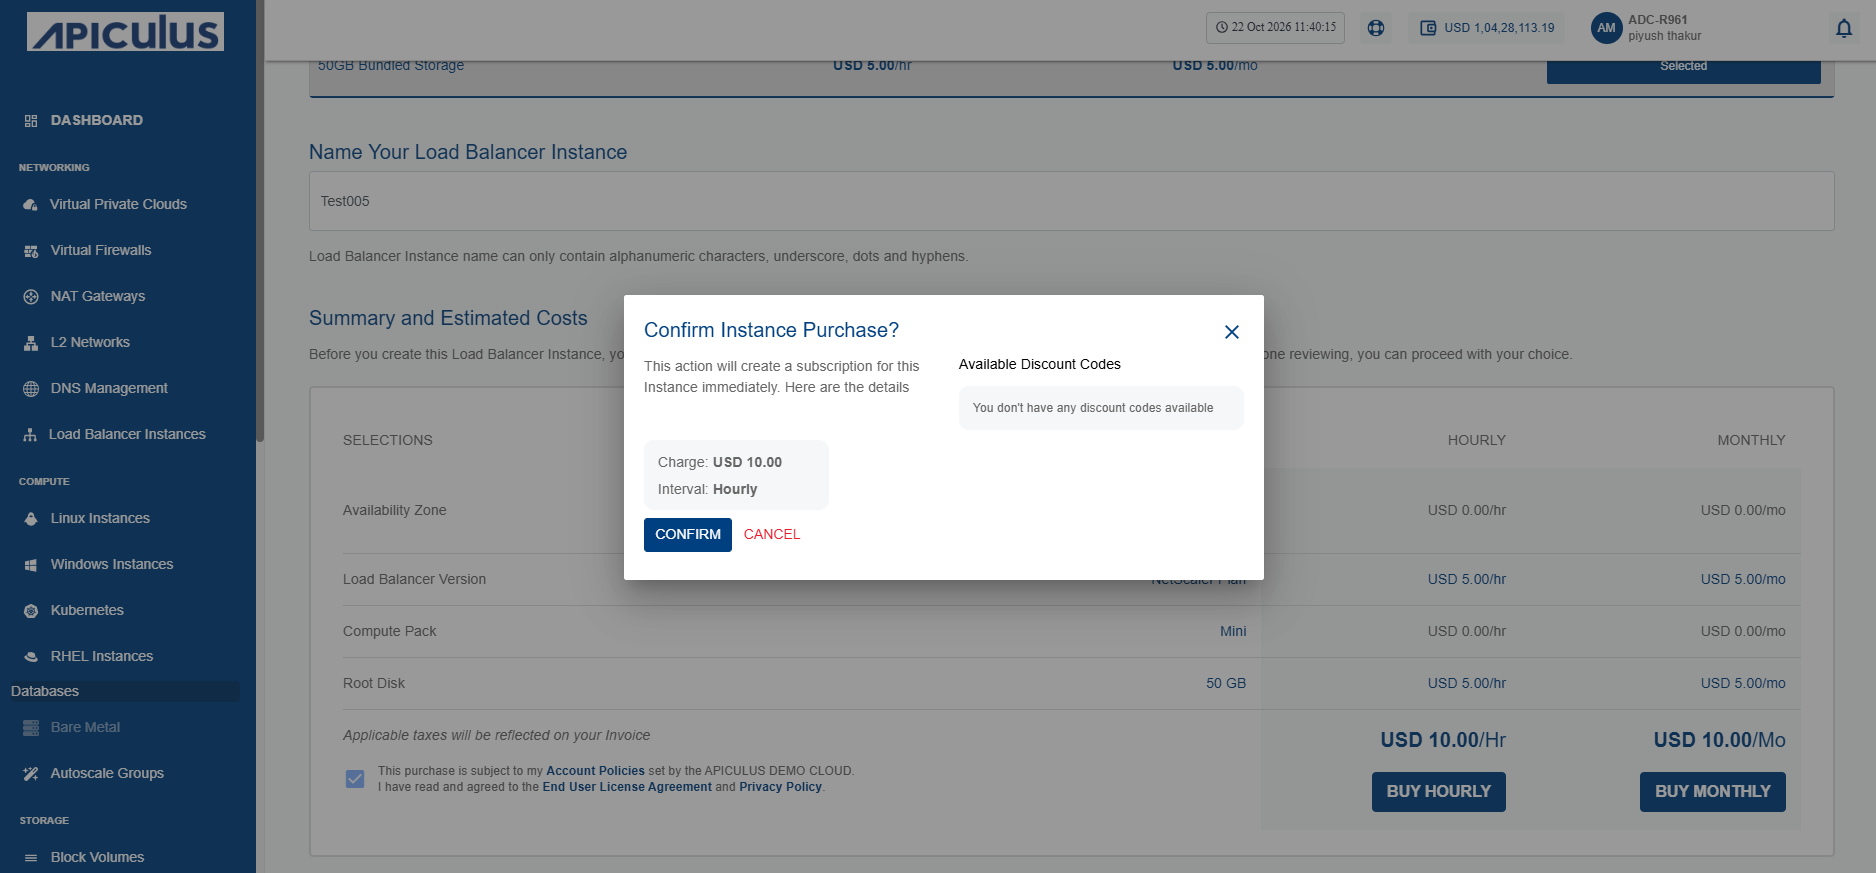
- Click the Confirm button.