Creating a Virtual Firewall
Creating a virtual firewall allows you to deploy a firewall instance to secure and manage network traffic for your cloud resources. It helps protect your environment by applying the required security configuration and traffic control policies during deployment.
To create a Virtual Firewall, follow these steps:
- Navigate to the Networking > Virtual Firewalls. The following screen appears:
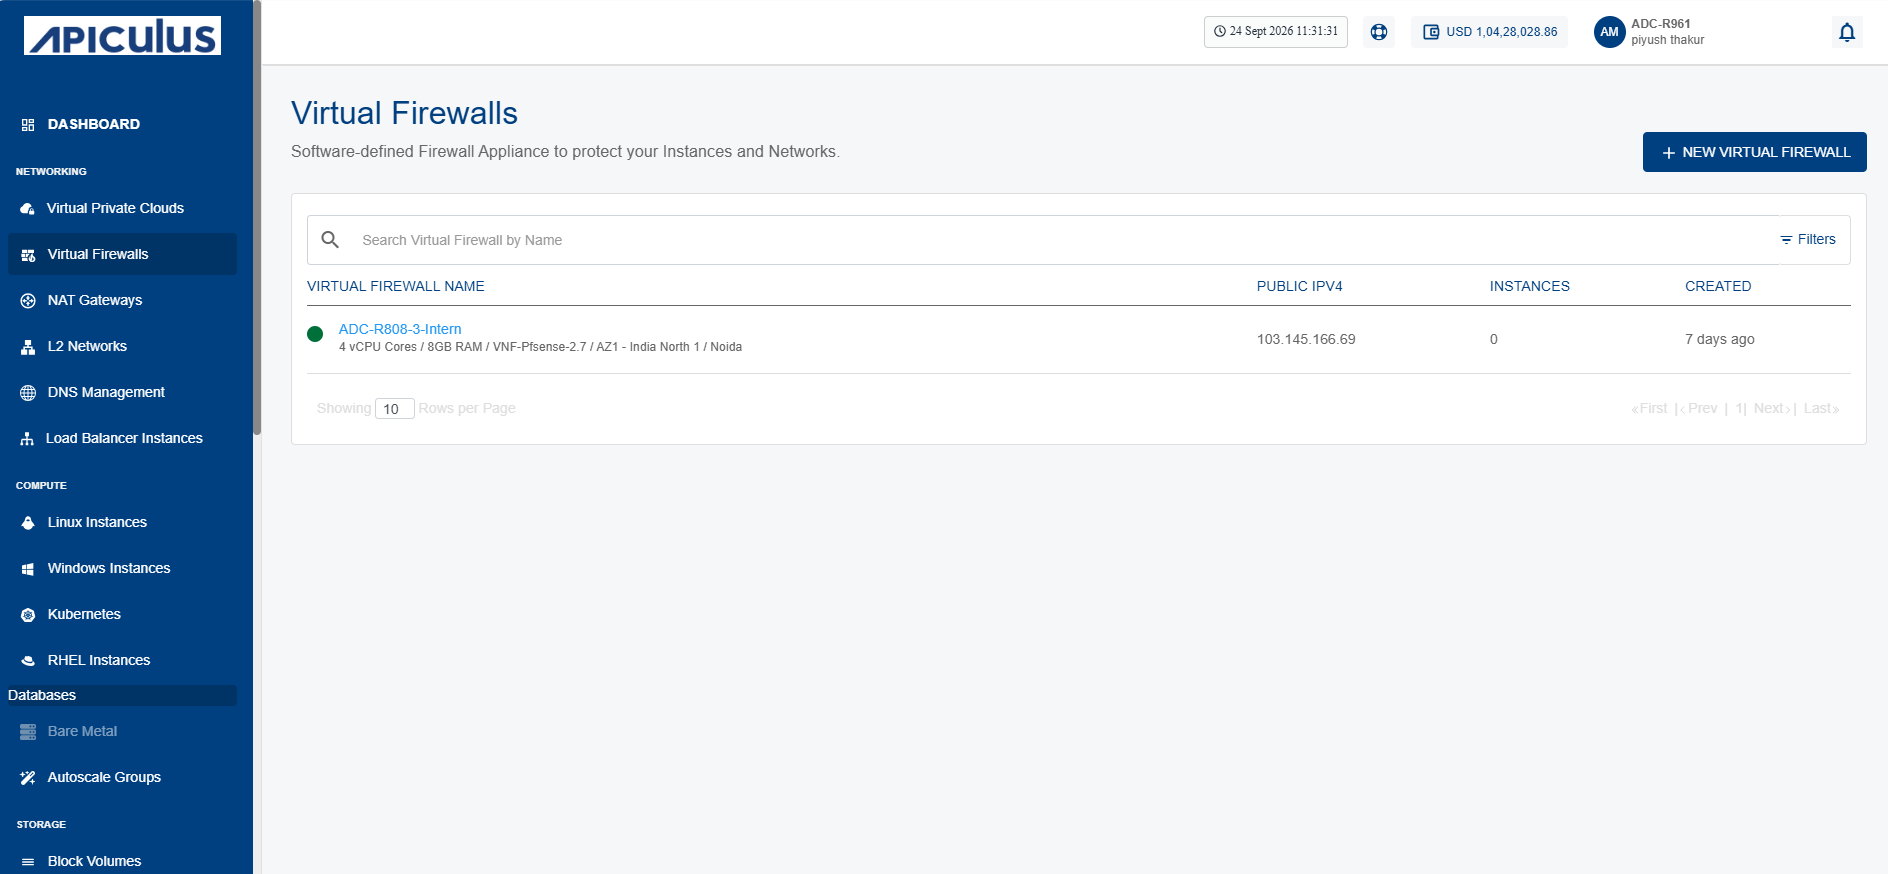
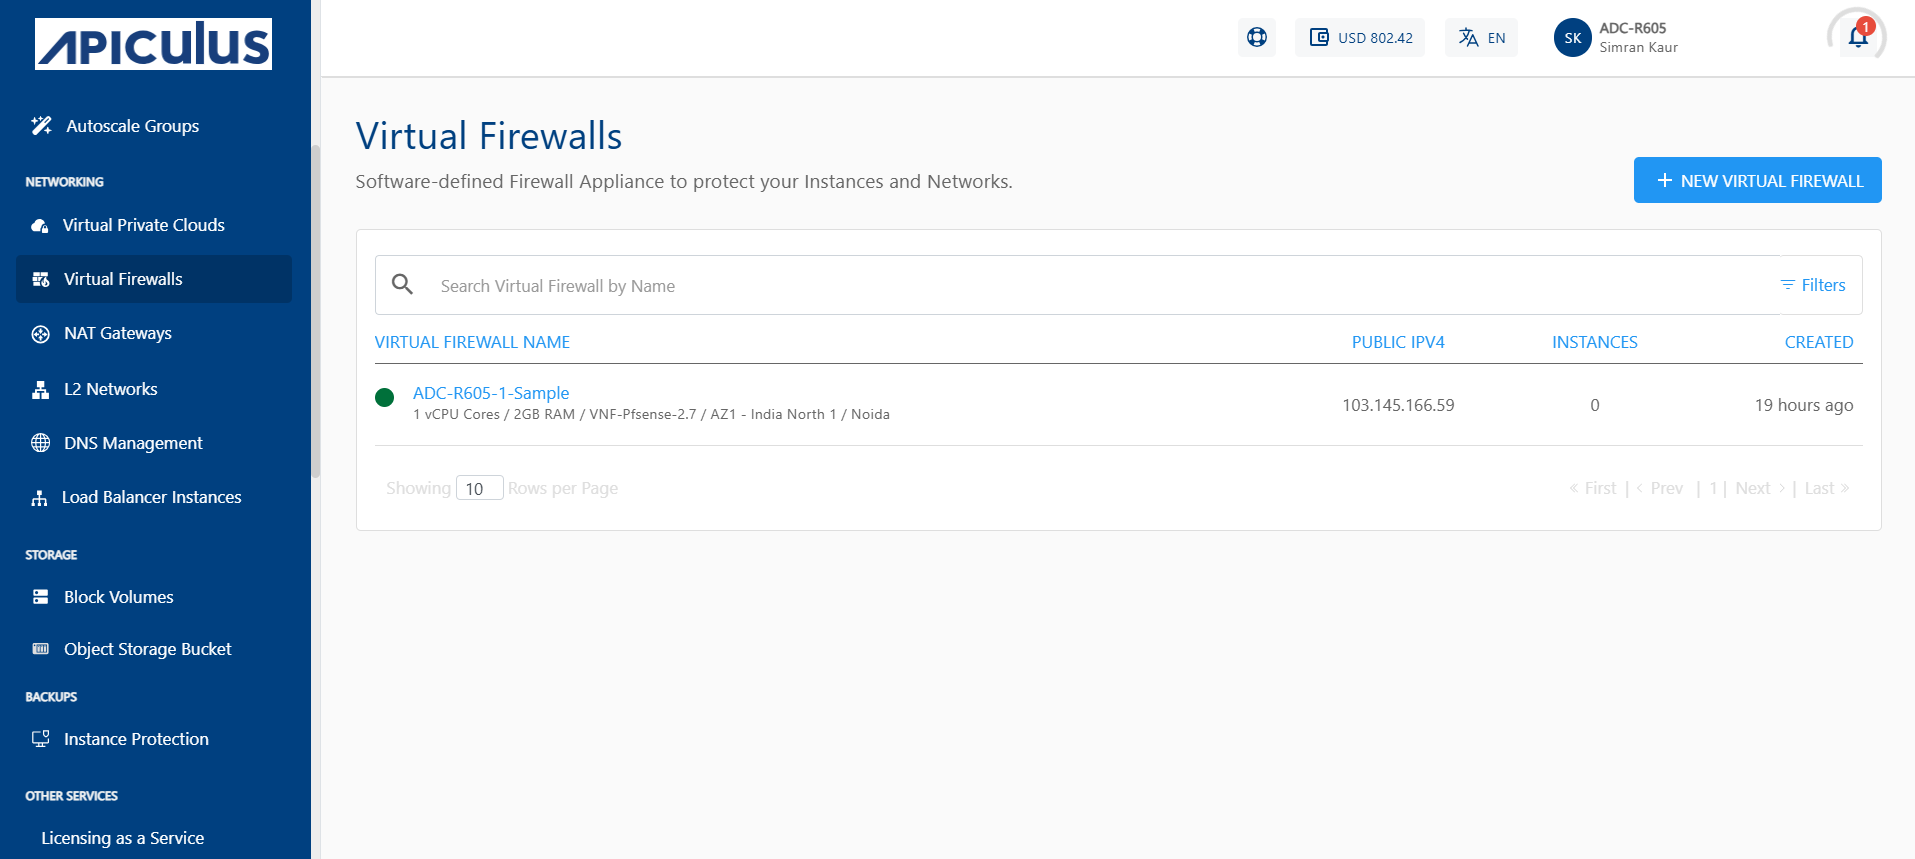
- To activate the service, click the New Virtual Firewall button.
note
Apiculus currently supports only one Virtual Firewall per Availability Zone.
- Select your Availability Zone.
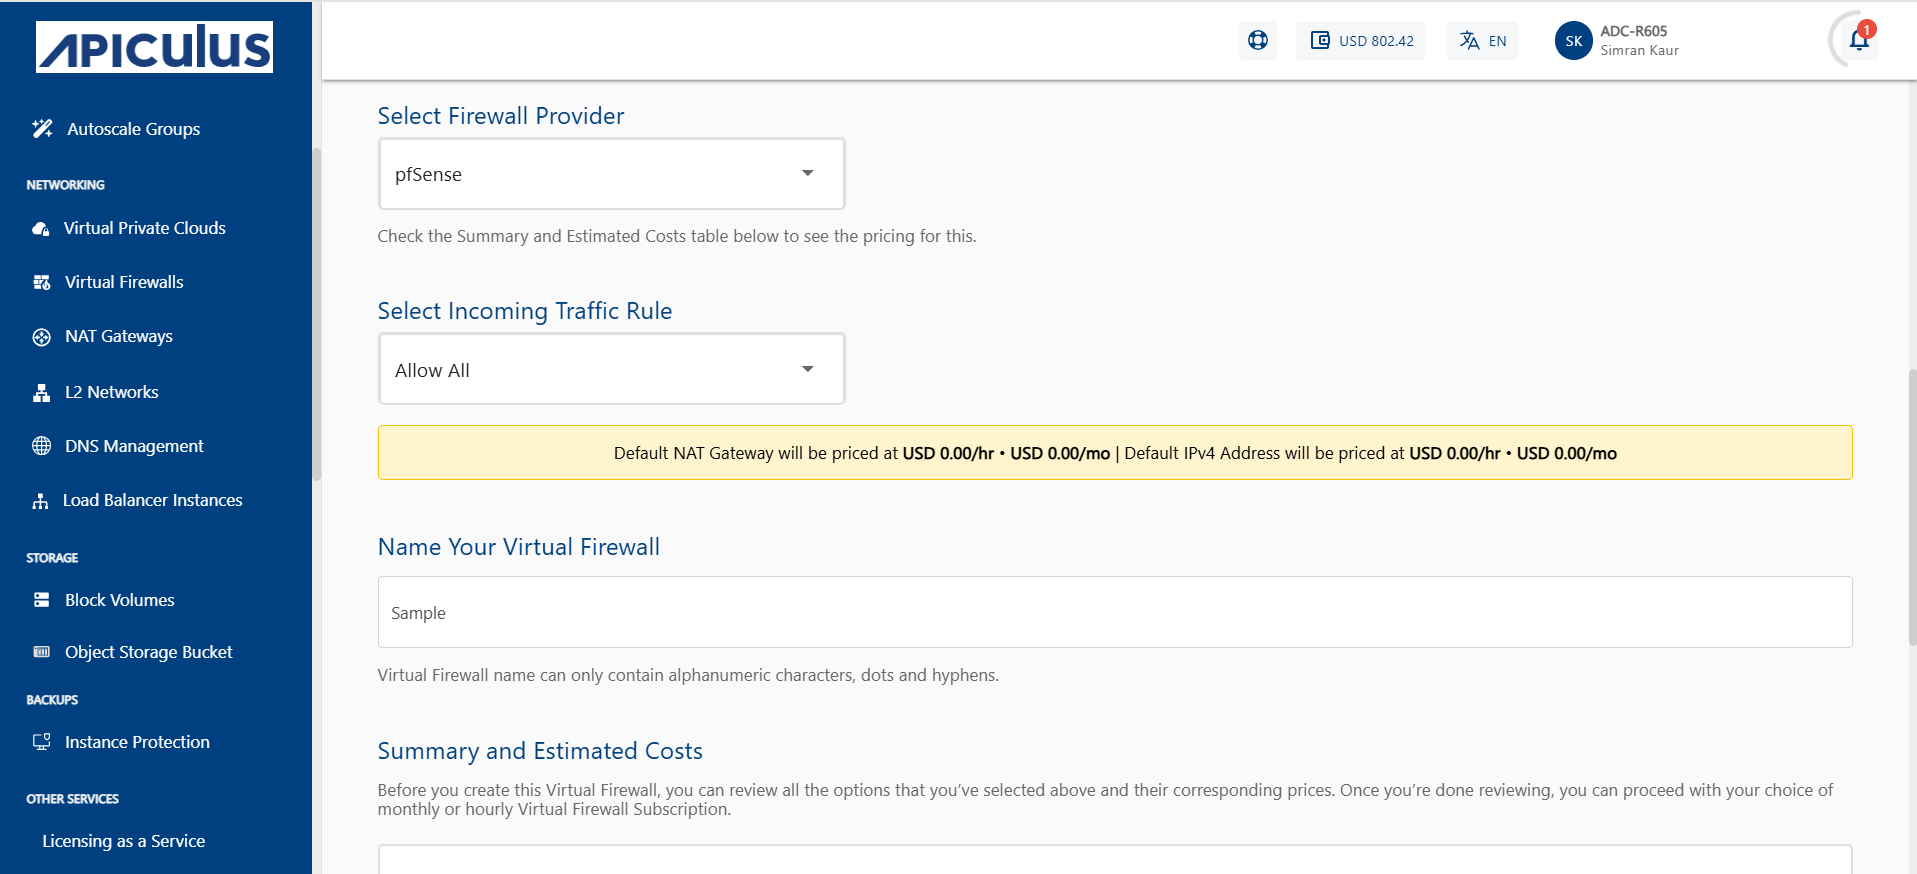
- Select the Virtual Firewall provider from the dropdown menu.
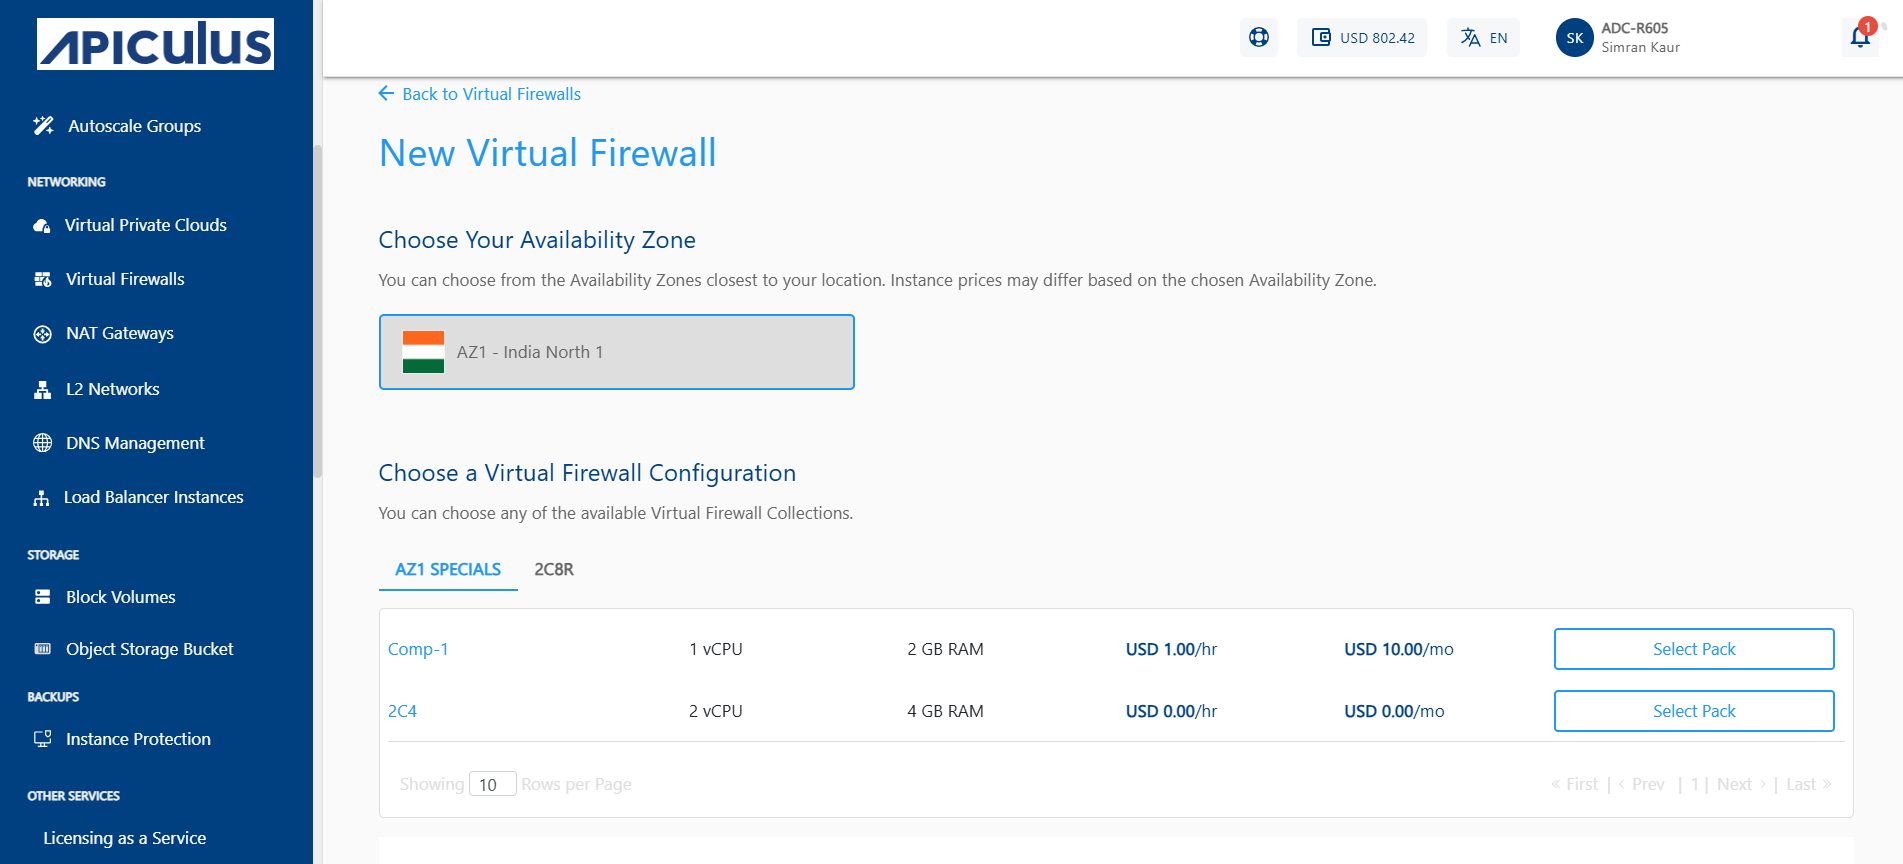
- Choose the compute pack from the list.
- Select the Incoming Traffic Rule (Allow All, Deny All, Allow Custom) and give a name to your Virtual Firewall.
note
Allow All- Grants access to all protocols and services without restriction when selected. Deny All- Restrict access to all protocols and services when selected. Allow Custom- Enable the user to specify the Source from which traffic should be allowed.
- Review the summary and estimated costs for both Hourly and Monthly options.
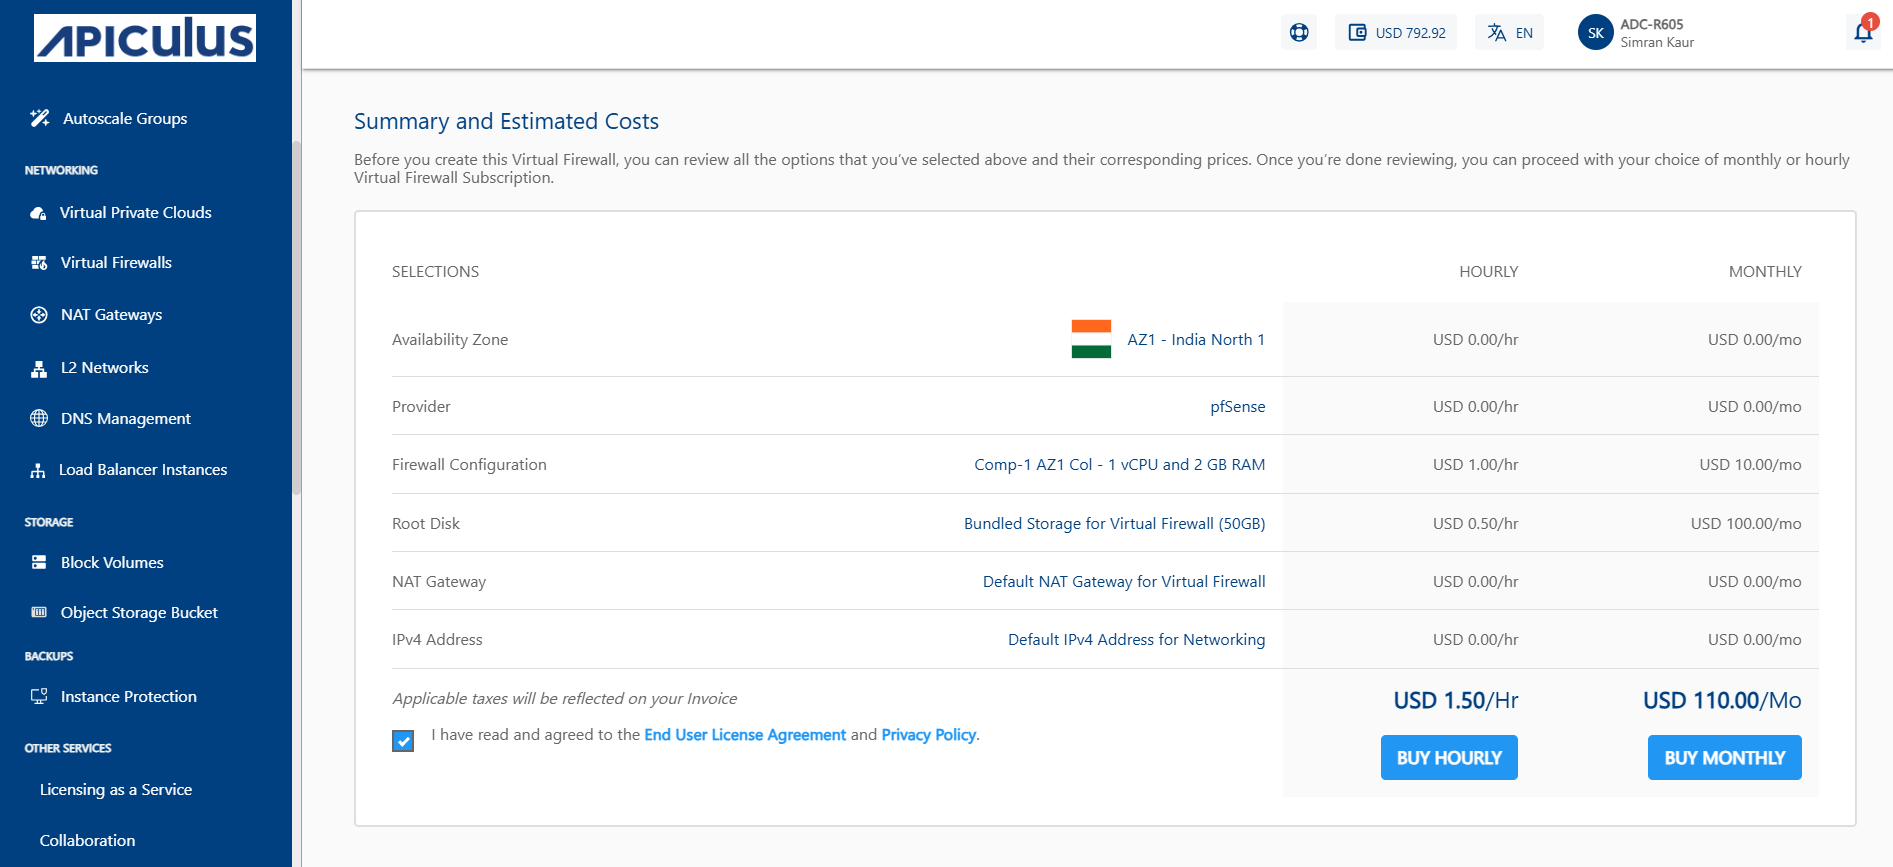
- Choose Buy Hourly or Buy Monthly based on your requirement, and then click Confirm on the confirmation popover.
The Virtual Firewall service can be configured for provisioning in a self-service or an approval-based manner.
Managing Virtual Firewall Provisioning Requests
If approval-based provisioning is enable for the VFI Service, the following process follows:
- Request Submission
- A provisioning request is automatically raised to the cloud administrator.
- The requester will be notified via email once the request is approved or rejected.

- Request Status
- Upon approval or activation, the Virtual Firewall appliance becomes visible in the Virtual Firewalls list.

- Upon approval or activation, the Virtual Firewall appliance becomes visible in the Virtual Firewalls list.
- Accessing the Request
- The request is available under the Requests section in the Support & Operations menu on the Apiculus Admin Console.
- Admin Actions
- The administrator can:
- Review the request
- Approve or reject the request
- Enter any custom price overrides
- Click OK to finalize the action
- The end user and the admin will receive an email notification regarding the request status.

- The administrator can:
- End User Notification
- If the request is approved, the end user will receive an additional email with- Subscription details, Service access information.

- If the request is approved, the end user will receive an additional email with- Subscription details, Service access information.